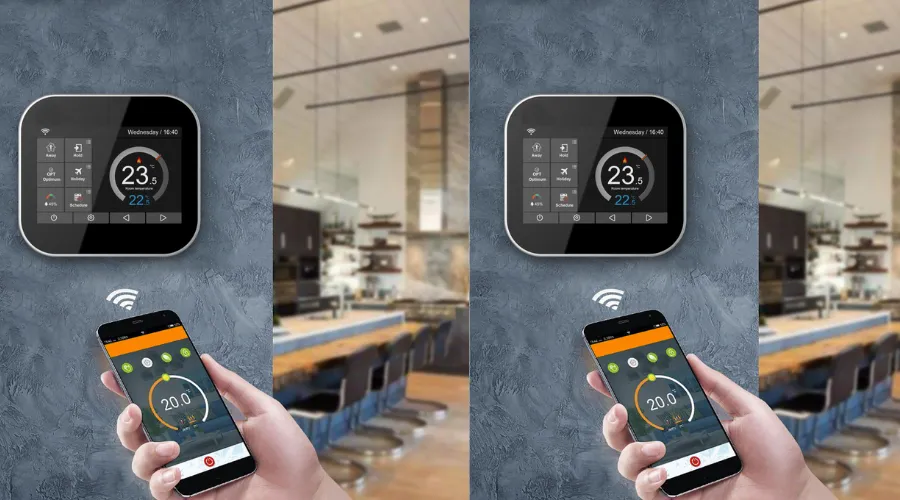
A Smart Thermostat is a device that controls and regulates a system’s temperature. It is generally used in heating, ventilation, and air conditioning (HVAC) systems for homes, businesses, and numerous other locations. Its major duty is to monitor the current temperature and activate or deactivate a heating or cooling system as necessary to maintain the appropriate temperature range.
1. What are the different types of thermostats?
Thermostats come in various forms and technologies, but they all share the fundamental purpose of temperature control:
1. Mechanical Thermostats:
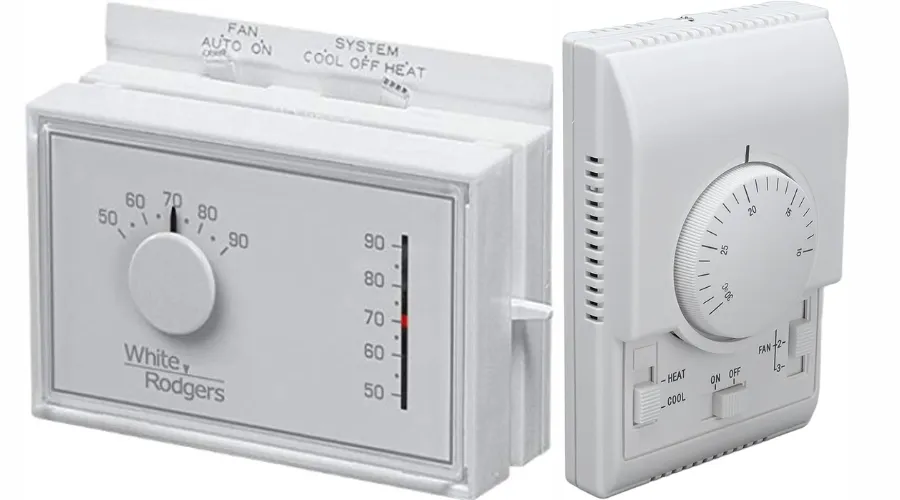
These are basic, conventional thermostats that you can manually control by turning a dial or a lever to establish the appropriate temperature. The thermostat activates the heating or cooling system by expanding or contracting a bimetallic coil when the temperature deviates from the set point.
2. Digital Thermostats:
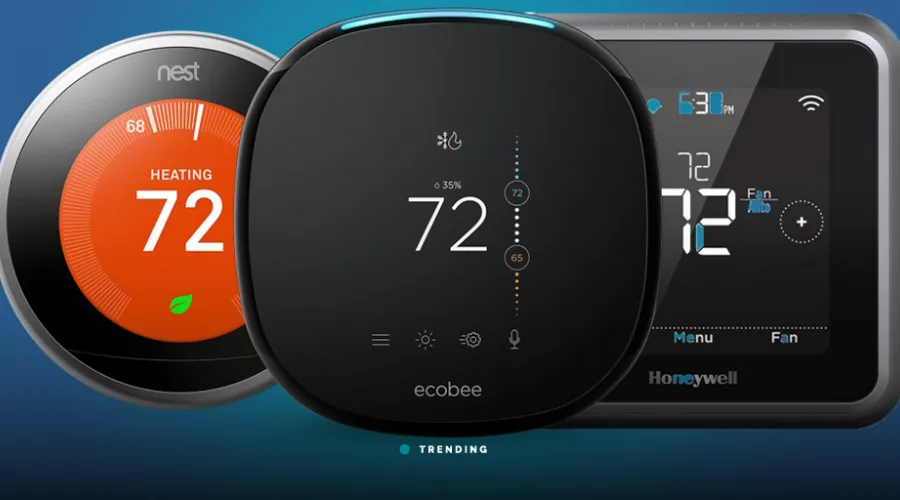
A digital display and buttons for adjusting the temperature are features of digital thermostats. Compared to mechanical thermostats, they offer more accurate temperature management and frequently include programmable functions for setting up heating and cooling programs.
3. Smart Thermostats:
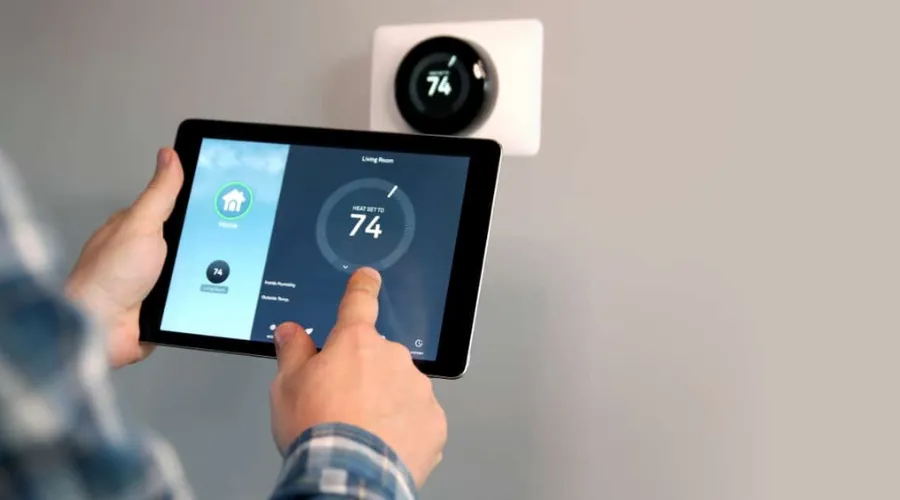
The most recent advancement in thermostat technology is the smart thermostat. They can be controlled remotely with a smartphone app or by voice commands using services like Amazon Alexa, Google Assistant, or Apple HomeKit. They connect to the internet over Wi-Fi. Advanced functions like remembering your routine, adapting based on weather forecasts, and offering energy usage information are frequently seen in smart thermostats.
4. Programmable Thermostats:
You may establish customized temperature regimens for various periods of the day or week with programmable thermostats. By automatically regulating the temperature when you’re away from home or while you’re asleep, this saves you electricity.
5. Wireless Thermostats:
These thermostats can be installed anywhere in your house and wirelessly connect with the HVAC system. They are frequently used for retrofitting or when it is difficult to run wires to a conventional thermostat placement.
2. What are the benefits of using a smart thermostat?
1. Energy Efficiency: Smart thermostats are made to maximize the efficiency of your HVAC system, which can result in significant energy savings. They become familiar with your heating and cooling habits and make adjustments accordingly, saving wasted energy.
2. Convenience: You can adjust your thermostat remotely using a smartphone app, ensuring that your house is always at the ideal temperature when you get home.
3. Compatibility: Although smart thermostats can be used with a variety of HVAC systems, it’s important to confirm compatibility with your particular arrangement.
4. Integration: It’s simple to operate your smart thermostat with voice commands thanks to the majority of them being compatible with voice assistants like Amazon Alexa and Google Assistant.
5. Learning Capabilities: Many smart thermostats can learn, gradually adjusting to your schedule and preferences. This guarantees that the temperature in your house is always correct.
3. How to Install a Smart Thermostat by Cox Communications:
Installing a smart thermostat may seem daunting, but with the right steps, it’s a manageable DIY project.
Step 1: Gather Your Tools
A smart thermostat that works with your HVAC system, a screwdriver, a drill (if necessary), wall anchors (if necessary), a level, and a smartphone with the Cox Communications app installed for setup and control are all things you should have before you start.
Step 2: Turn Off Power
For safety, turn off the power to your HVAC system at the circuit breaker. This will prevent any electrical mishaps during installation.
Step 3: Remove the Old Thermostat
Carefully remove your existing thermostat’s cover. You’ll likely find wires connected to it. Take a picture of the wire connections or label them to ensure you can reconnect them correctly later.
Step 4: Disconnect Wires
Gently disconnect the wires from the old thermostat. Use the screwdriver to loosen the terminal screws holding the wires in place.
Step 5: Install the New Thermostat
Follow the manufacturer’s instructions to mount the new thermostat’s base to the wall. Use a level to ensure it’s straight. Then, connect the wires to the corresponding terminals on the new thermostat.
Step 6: Power Up
Your smart thermostat will turn on and guide you through the setup procedure after you turn the power back on at the circuit breaker. Follow the on-screen instructions and use the Cox Communications app to connect the thermostat to your Wi-Fi network.
Step 7: Customize Settings
Once your smart thermostat is connected, you can customize settings such as your preferred temperature, schedule, and integration with voice assistants like Amazon Alexa or Google Assistant.
Step 8: Test and Enjoy
Test your new smart thermostat to ensure it’s working correctly. You can now enjoy the convenience and energy savings it offers.
Also Read – Get Some Beautiful Electronic Picture Frames on Backmarket
Conclusion
Cox Communications’ smart thermostats provide some advantages, including energy saving, simplicity, and easy integration into contemporary houses. These smart appliances are an excellent addition to any house, regardless of whether you want to increase comfort, lower energy costs, or promote environmental sustainability. Cox Communications’ smart thermostats provide homeowners control over their home’s environment and energy use while also providing the benefits of a smarter, more connected home. They are simple to install and work with a variety of HVAC systems. For more information, visit Findwyse.


