


Welcome to the world of digital creativity, where Adobe Photoshop serves as the canvas for every stroke of vision. Today, we’ll look at the power of outline text, a subtle but efficient approach for adding depth, characters, and personality to your designs. With a few clicks, you can convert regular text into compelling graphic components that command attention, deliver your message clearly and stylishly, and maximise the possibilities of your digital works. Let’s dive into the blog where you will find the right way to use the outline text in Photoshop and this software for proper purposes.


What does it mean to outline text in Photoshop?
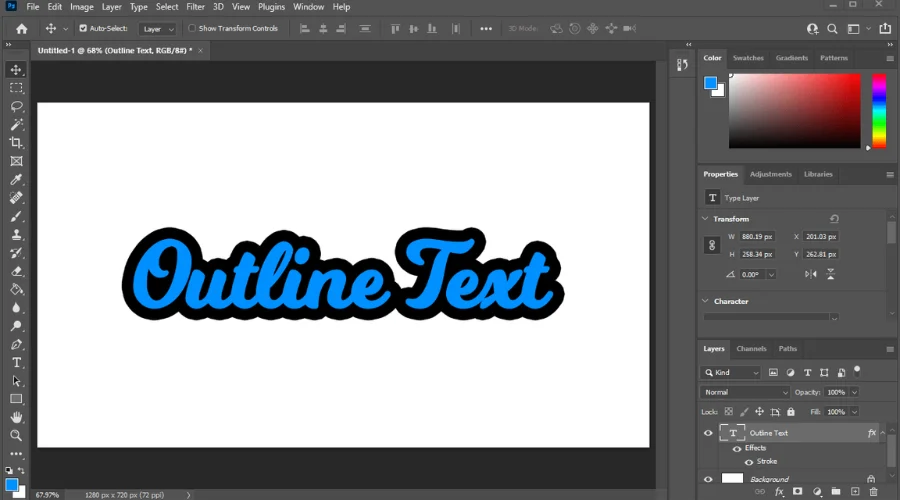
To establish emphasis or distinction, outline text in Photoshop by adding a border or stroke around its borders. This style increases the visibility and impact of text by making it stand out against the backdrop of surrounding elements of a design. Designers may alter the look of the outline by adjusting factors such as size, colour, and opacity to generate a variety of visual effects. Overall, outlining text in Photoshop is a useful technique for improving typography and elevating the overall design composition. Explore Adobe’s website for more information.
How to Outline Text In Photoshop?
There are several techniques for adding a text outline to your image:
-
Select the image
Choose whatever layer you wish to add text on, or create a new layer. Then choose the Type tool from the toolbar on the right side of the screen.
-
Write it
To write, click anywhere on the screen and input the desired text.
-
Layer it
To access the Layer Style menu, click the FX symbol or double-click the layer’s side. Then, choose the checkbox next to the Stroke option.
-
Adjust it
Use the Stroke menu slides to customise the size of your stroke layer. It is great for Photoshop stroke text and is easy to use. The Size option sets the thickness of the outline, whilst the Position option specifies its position about the text.
-
Colour it
Use the Color Picker to change the colour of your outline text in Photoshop and adjust the Blend Mode to determine how it blends with the rest of the image.
-
Fill it
To fill your outline text in Photoshop with something other than a solid colour, select Gradient(which generates a subtle transition between two colours) of Pattern which provides a range of repeating textures and patterns.
-
Apply It
Click on OK to apply changes to the image.
How to outline text as a vector?
Creating an outline for text in Photoshop is a handy approach to adjusting typography and improving graphic compositions. One way is to turn text into a vector shape, which gives more possibilities for sculpting the contour but makes text editing more difficult afterwards. To accomplish this, follow these steps:
-
Convert it
Start by finishing your text and transforming it into a shape. Create a text layer using the Text Tool, then right-click it and select “Convert to Shape.”
-
Vector it
Once converted, activate vector points on the text using any vector tool from the toolbar on the right.
-
Modify it
Customise the look of the text outline by selecting Fill Colour and Stroke Options from the top menu.
-
Apply it
After making the appropriate changes, click OK to apply them. This approach allows you to generate unique and customizable text outlines that are adapted to your design requirements, increasing visual impact and aesthetic appeal. So, visit Adobe’s website today.
How To Outline Text Without Fill?
Sometimes we are confused about how to use outline text in Photoshop that too without fill so here is the way. In Photoshop, you have two ways to outline text without filling it, depending on whether you’re working with rasterized or vector text layers, you may modify the fill opacity of rasterized text layers to make them look lighter while keeping the contour intact. Simply go to the Layer Styles menu, select Stroke, and then use the Fill Opacity slides to reduce the opacity of the letters.
If you are dealing with vector text layers, you can get a similar look by using the Stroke option in the layer style box. Then click the Fill icon to select the No Fill option which is represented by a white box with a red line across it. This eliminates the fill colour from the text while keeping the outline resulting in a lighter effect with only the outline visible. Experiment with these approaches to get the ideal look for your outline text in Photoshop.
Conclusion
In conclusion, Outlining text in Adobe Photoshop is an effective approach for adding focus and elegance to your projects. Outlining text in posters, images, illustrations, vectors, or any other digital artwork may help your content stand out and capture attention. Following the techniques provided in this post will allow you to simply outline text, giving your designs a more professional and polished appearance without using fill-in Photoshop. So, now you can create eye-catching designs with the help of Adobe.
To learn more about how to outline text in Photoshop, go visit Findwyse!
FAQs


